Have you ever wanted to learn to play the ukulele? This small, four-stringed instrument is easy to learn and is perfect for beginners who want to start playing music. In this blog post, I will share my experience of learning the basics of the ukulele and provide you with a beginner’s guide to playing the instrument. We’ll cover everything from the basic chords to strumming patterns, so you can start playing your favorite songs in no time. So, grab your ukulele and let’s get started!
Here’s the first ukulele lesson for beginners:
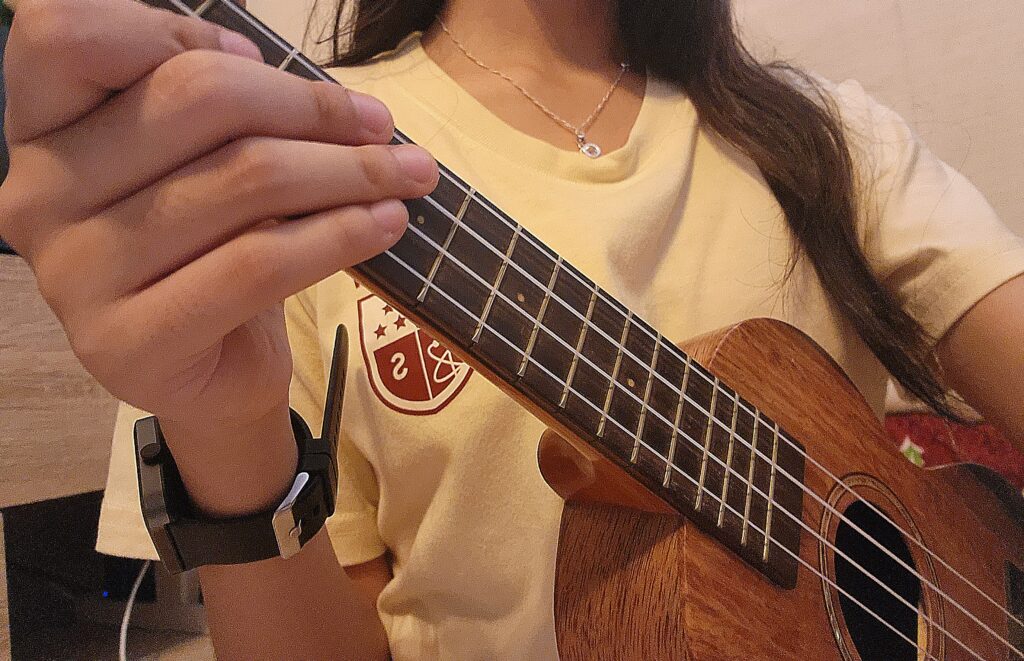
Lesson 1: Getting to Know Your Ukulele
Before you start playing the ukulele, it’s important to get to know your instrument. Here are the parts of the ukulele that you should be familiar with:
- Headstock: The top part of the ukulele where the tuning pegs are located.
- Tuning Pegs: The knobs on the headstock that are used to tune the strings.
- Nut: The small piece of plastic or bone at the top of the fretboard that holds the strings in place.
- Fretboard: The long, thin piece of wood that runs down the neck of the ukulele.
- Frets: The small metal strips on the fretboard that divide it into sections.
- Soundhole: The circular hole on the front of the ukulele that allows the sound to escape.
- Strings: The four strings that run from the headstock to the bridge.
- Bridge: The piece of wood on the front of the ukulele where the strings are anchored.
Once you’re familiar with the parts of your ukulele, it’s time to tune it.
Lesson 2: Tuning Your Ukulele
Tuning your ukulele is essential for getting the right sound out of your instrument. Here’s how to tune your ukulele:
- Start by tightening the string closest to your face, which is the G string, until it sounds like the correct pitch. You can use an electronic tuner or a tuning app to help you tune your ukulele.
- Once the G string is in tune, press down on the 5th fret of the G string and pluck the open C string. Adjust the tuning peg for the C string until the two notes sound the same.
- Next, press down on the 4th fret of the C string and pluck the open E string. Adjust the tuning peg for the E string until the two notes sound the same.
- Finally, press down on the 2nd fret of the E string and pluck the open A string. Adjust the tuning peg for the A string until the two notes sound the same.
Congratulations! Your ukulele is now in tune and ready to play.
Lesson 3: Basic Chords
Now that your ukulele is in tune, it’s time to start playing some chords. Here are some of the most basic chords that every ukulele player should know:
- C chord: Place your ring finger on the third fret of the A string.
- F chord: Place your index finger on the first fret of the E string and your middle finger on the second fret of the G string.
- G chord: Place your index finger on the second fret of the C string, your middle finger on the third fret of the E string, and your ring finger on the third fret of the A string.
To play each chord, strum all four strings with your right hand. Try to keep your strumming hand loose and relaxed, and use your wrist to create a fluid motion. Don’t worry if your chords sound a little buzzy or muted at first – this is normal for beginners.
Practice switching between these three chords until you can do it smoothly and quickly. Remember to keep your fingers as close to the frets as possible and apply enough pressure to make each note sound clear.
Lesson 4: Basic Strumming Patterns
Now that you know some basic chords, it’s time to start learning some strumming patterns. Strumming patterns are essential to creating rhythm and adding style to your playing. Here are a few basic strumming patterns to get you started:
- Down Strums: This is the most basic strumming pattern. Simply strum down with your thumb or fingers on all four strings. You can vary the speed and intensity to create different effects.
- Up Strums: This is the opposite of the down strum. Simply strum upwards with your thumb or fingers on all four strings.
- Down-Up Strums: This pattern alternates between down strums and up strums. Try to keep a steady rhythm and apply equal pressure on each stroke.
- Island Strum: This is a common strumming pattern used in Hawaiian music. It goes like this: down, down-up, up, down-up. This pattern has a distinct island feel and is often used in ukulele music.
Try practicing these strumming patterns with the chords you learned in lesson 3. Start slowly and gradually increase the tempo as you get comfortable.
Lesson 5: Basic Songs
Now that you know some basic chords and strumming patterns, it’s time to put them together and play some songs! Here are a few simple songs that you can try:
- “Row, Row, Row Your Boat”
C G7 C
Row, row, row your boat
G7 C G7 C
Gently down the stream
C G7 C
Merrily, merrily, merrily, merrily
G7 C
Life is but a dream
- “Twinkle, Twinkle, Little Star”
C C G7 G7
Twinkle, twinkle, little star
C C G7 G7
How I wonder what you are
F F C C
Up above the world so high
G7 G7 C C
Like a diamond in the sky
Practice these songs using the chords and strumming patterns you’ve learned. Remember to start slow and gradually increase your speed as you get comfortable.
Here’s how to read a basic ukulele chord diagram:
- The vertical lines represent the four strings of the ukulele, with the leftmost line representing the G string, the second line from the left representing the C string, the third line representing the E string, and the rightmost line representing the A string.
- The horizontal lines represent the frets on the ukulele. The top line represents the nut (the part of the ukulele where the strings are held in place), and each subsequent line represents a higher fret.
- The dots on the diagram show where to place your fingers on the fretboard. A filled-in dot represents where to place your finger, while an open circle means to leave that string open (unfretted).
- The number on the dot indicates which finger to use: 1 for index finger, 2 for middle finger, 3 for ring finger, and 4 for pinky finger.
For example, a C chord diagram would show a dot on the third fret of the A string (with your ring finger), and an open circle on all other strings.
Here are a few more examples of chord diagrams for common ukulele chords:
G|—|—|—|—|
C|—|—|—|—|
E|—|—|—|—|
A|—|—|—|—|
0 1 0 3
In this diagram, you can see four vertical lines representing the four strings of the ukulele, and four horizontal lines representing the frets. The dot is located on the third fret of the A string, and the number 3 below the diagram indicates that you should use your ring finger to fret that note. The other strings are left open, indicated by the open circles.
When you see a chord diagram for a song or exercise, you can use it to position your fingers on the fretboard and strum the corresponding notes to play the chord. With practice, you’ll be able to quickly recognize and play a variety of chords using chord diagrams.
Here are a few more examples of chord diagrams for common ukulele chords:
G chord:
G|—|—|—|—|
C|—|—|—|—|
E|—|—|—|—|
A|—|—|—|—|
2 1 0 3
F chord:
G|—|—|—|—|
C|—|—|—|—|
E|—|—|—|—|
A|—|—|—|—|
0 1 0 2
Am chord:
G|—|—|—|—|
C|—|—|—|—|
E|—|—|—|—|
A|—|—|—|—|
2 0 0 0
In the G chord diagram, you can see that your index finger is placed on the second fret of the C string, your middle finger on the third fret of the E string, and your ring finger on the third fret of the A string.
For the F chord diagram, your index finger is placed on the first fret of the E string and your middle finger is placed on the second fret of the G string.
Lastly, in the Am chord diagram, your middle finger is placed on the second fret of the G string.
Remember that these diagrams are just a guide to help you position your fingers correctly. With practice, you’ll become more familiar with the finger positions and be able to play the chords without looking at the diagrams.
Learning to play a musical instrument can be one of the most fulfilling and rewarding experiences that anyone can undertake. For me, learning how to play the ukulele has been a journey of discovery, growth, and self-expression. In this blog post, I want to share with you my experience of learning how to play the ukulele, and provide you with some tips and tricks that I have picked up along the way.
Why the Ukulele?
The ukulele is a fun and easy-to-learn instrument that has a unique sound and a rich history. It originated in Hawaii in the late 19th century, and has since become a popular instrument around the world. The ukulele is a great instrument for beginners because it has a small size and only four strings, which makes it easier to handle and learn than some other instruments.
Getting Started
When I first started learning how to play the ukulele, I was intimidated by the instrument and thought it would be difficult to learn. But I soon realized that the ukulele is actually quite easy to pick up, and with a bit of practice, I was playing my first song within a week.
The first step in learning how to play the ukulele is to choose the right instrument. There are a lot of different types of ukuleles out there, and it can be overwhelming to know where to start. I recommend starting with a basic soprano ukulele, which is the smallest and most common type of ukulele. It’s also the most affordable, so it’s a great choice for beginners.
Once you have your ukulele, the next step is to learn the basics. This includes tuning your ukulele, learning how to hold it, and mastering a few basic chords. Tuning your ukulele is essential for getting a good sound out of it, and there are a lot of online resources and apps that can help you with this.
Learning Chords
When it comes to chords, the ukulele has a unique tuning that can take a bit of getting used to. The strings are tuned to G, C, E, and A, which means that you’ll need to learn some new chord shapes that are specific to the ukulele.
One of the best ways to learn chords is to practice them in the context of a song. I started with simple songs like “Twinkle, Twinkle, Little Star” and “Row, Row, Row Your Boat,” which allowed me to practice the basic chords while also learning how to strum and play in time.
Another great way to learn chords is to practice them in different keys. This will help you to build your finger strength and dexterity, and will also help you to understand how chords work together in a song.
Strumming Techniques
Once you’ve mastered the basic chords, it’s time to start working on your strumming technique. Strumming is one of the most important aspects of playing the ukulele, and there are a lot of different techniques that you can use to create different sounds and rhythms.
One of the most basic strumming patterns is the down-up-down-up pattern, which involves strumming down on the strings with your thumb or fingers, and then up again. This creates a basic rhythm that you can use in a lot of different songs.
Another great strumming technique is the finger-picking pattern, which involves using your fingers to pluck the strings instead of strumming them. This can create a more delicate and nuanced sound, and is great for slower songs or ballads.
Playing with Others
Playing the ukulele is a lot of fun on your own, but it’s even more fun when you can play with others. There are a lot of different ways to play the ukulele with others, including joining a ukulele club or group, attending a ukulele festival or workshop, or simply playing with friends or family members.
Playing with others can be a great way to learn new songs, techniques, and styles, and can also be a great way to make new friends who share your passion for music. Ukulele clubs and groups are a great way to connect with other ukulele players in your community, and often hold regular jam sessions, performances, and other events.
Attending a ukulele festival or workshop can also be a great way to improve your skills and learn from other players and instructors. These events often feature workshops and classes on everything from basic chords and strumming to more advanced techniques and styles.
Tips and Tricks
Learning to play the ukulele takes practice and dedication, but there are a few tips and tricks that can help you along the way. Here are some of my top tips for learning how to play the ukulele:
- Practice regularly: The more you practice, the better you’ll get. Try to set aside a regular practice schedule and stick to it.
- Start with simple songs: Start with simple songs that use basic chords and strumming patterns, and work your way up to more complex songs as you improve.
- Use online resources: There are a lot of great online resources for learning how to play the ukulele, including YouTube tutorials, chord charts, and instructional websites.
- Play with others: Playing with other ukulele players can be a great way to improve your skills and learn new techniques and styles.
- Have fun: Most importantly, remember to have fun! Learning to play the ukulele should be a fun and rewarding experience.
Conclusion
Learning to play the ukulele has been a great experience for me, and I hope that this blog post has inspired you to pick up an instrument and start playing. Whether you’re a complete beginner or an experienced musician, there’s always something new to learn and discover with the ukulele. So go ahead and give it a try – you might just surprise yourself with what you can achieve!